


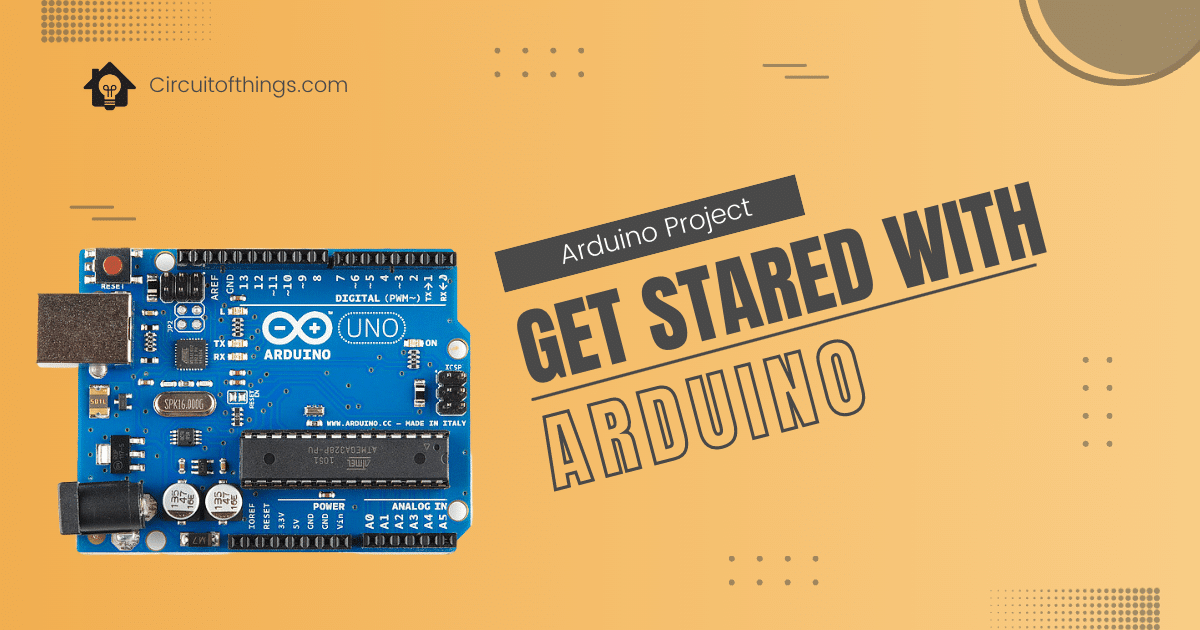
This Arduino for beginners guide is the starting point for anyone who wants to learn electronics and build interactive projects. From blinking an LED to controlling motors, reading sensors, and connecting to the internet, Arduino gives beginners a straightforward entry point into the world of microcontrollers and embedded systems. This Arduino tutorial covers everything you need to know about getting started with Arduino, from scratch, with no prior experience required.
- Table of Contents
- What is Arduino?
- Choosing Your First Arduino Board
- What You Need to Get Started
- Installing the Arduino IDE
- Understanding the Arduino Sketch Structure
- Your First Project: Blink an LED
- Project 2: Control an External LED with a Resistor
- Project 3: Read a Sensor Value with Serial Monitor
- Key Arduino Functions Every Beginner Should Know
- Common Beginner Mistakes to Avoid
- What to Learn Next
- Conclusion
- Further Reading and Official Resources
- Related Guides
Table of Contents
What is Arduino?
Arduino is an open-source electronics platform consisting of both hardware (development boards) and software (the Arduino IDE). It was created in 2005 at the Interaction Design Institute in Ivrea, Italy, with the goal of making electronics accessible to artists, designers, students, and hobbyists without an engineering background.
At the heart of every Arduino board is a microcontroller — a small integrated circuit that can read inputs from sensors and buttons, process that information according to your program, and control outputs such as LEDs, motors, and displays. You write the program on your computer in the Arduino IDE and upload it to the board over USB.
What makes Arduino particularly well-suited for beginners is its large community, extensive documentation, and the vast library of free code examples that can be adapted for almost any project.
Choosing Your First Arduino Board
Several Arduino board variants are available, each suited to different use cases. For a beginner, the choice of board matters less than simply picking one and starting. That said, here is a comparison of the three most common options:
| Board | Microcontroller | Digital Pins | Analog Pins | Best For |
|---|---|---|---|---|
| Arduino Uno | ATmega328P | 14 | 6 | Beginners — the most documented board |
| Arduino Nano | ATmega328P | 14 | 8 | Compact projects where space is limited |
| Arduino Mega | ATmega2560 | 54 | 16 | Complex projects requiring many I/O pins |
The Arduino Uno is the recommended starting point. It is the most widely used board, meaning every tutorial, book, and forum post you encounter will almost certainly reference it. Once you are comfortable with the Uno, transitioning to other boards is straightforward.
What You Need to Get Started
To complete the projects in this guide, you will need the following components. All of them are inexpensive and widely available from electronics retailers:
- Arduino Uno board
- USB Type-B cable (the square-ended cable used to connect the Uno to your computer)
- Breadboard (a solderless prototyping board for building temporary circuits)
- Jumper wires (male-to-male, for connecting components on the breadboard)
- LED (any colour)
- 220-ohm resistor (to protect the LED from excess current)
- Computer running Windows, macOS, or Linux
Installing the Arduino IDE
The Arduino IDE (Integrated Development Environment) is the software you use to write, compile, and upload programs to your Arduino board. Follow these steps to install it:
- Visit arduino.cc/en/software and download the Arduino IDE 2 for your operating system.
- Run the installer and follow the on-screen instructions. Accept the default settings.
- On Windows, approve the installation of USB drivers when prompted. These drivers allow your computer to communicate with the Arduino board.
- Once installed, open the Arduino IDE. You will see a blank sketch (program) ready for editing.
Connecting Your Arduino Uno
- Connect the Arduino Uno to your computer using the USB cable.
- In the Arduino IDE, go to Tools > Board and select Arduino Uno.
- Go to Tools > Port and select the COM port (Windows) or
/dev/ttyUSB0or/dev/cu.usbmodem(Linux/macOS) that corresponds to your board. - The power LED on the Arduino board should illuminate, confirming a successful USB connection.
Understanding the Arduino Sketch Structure
Every Arduino program is called a sketch. All sketches share the same fundamental structure, consisting of two required functions:
void setup() {
    // Runs once when the board powers on or resets
    // Use this to initialise pins, Serial communication, libraries, etc.
}

void loop() {
    // Runs repeatedly after setup() completes
    // This is where the main logic of your program lives
}- setup() — Executes once at startup. Use it to configure pin modes, initialise serial communication, and prepare any libraries your sketch uses.
- loop() — Executes continuously in a cycle. The Arduino runs through this function thousands of times per second, checking conditions, reading sensors, and updating outputs.
Your First Project: Blink an LED
Blinking an LED is the “Hello, World” of Arduino programming. It confirms that your IDE is installed correctly, your board is connected, and you can successfully upload a program. The Arduino Uno has a built-in LED connected to pin 13, which means you can complete this project without any additional components.
The Sketch
void setup() {
    pinMode(13, OUTPUT); // Set pin 13 as an output
}

void loop() {
    digitalWrite(13, HIGH); // Turn the LED on
    delay(1000);            // Wait 1 second
    digitalWrite(13, LOW);  // Turn the LED off
    delay(1000);            // Wait 1 second
}
How to Upload the Sketch
- Type or paste the sketch above into the Arduino IDE editor.
- Click the Verify button (the tick icon) to compile the code and check for errors.
- Click the Upload button (the right arrow icon) to send the compiled program to the Arduino board.
- The IDE will display “Done uploading” in the status bar. The built-in LED on pin 13 should now blink on and off once per second.
What Each Line Does
pinMode(13, OUTPUT)— Configures pin 13 as an output so the Arduino can send voltage through it to turn the LED on and off.digitalWrite(13, HIGH)— Sets pin 13 to 5V, which turns the LED on.delay(1000)— Pauses the program for 1000 milliseconds (1 second).digitalWrite(13, LOW)— Sets pin 13 to 0V, which turns the LED off.
Project 2: Control an External LED with a Resistor
Now that the built-in LED is working, the next step is connecting an external LED to a breadboard. This teaches you how to build a basic circuit and use a current-limiting resistor, which is a fundamental skill for all future Arduino projects.
Circuit Wiring
- Connect the positive leg (anode) of the LED to one end of a 220-ohm resistor.
- Connect the other end of the resistor to digital pin 9 on the Arduino.
- Connect the negative leg (cathode) of the LED to a GND pin on the Arduino.
The Sketch
int ledPin = 9;

void setup() {
    pinMode(ledPin, OUTPUT);
}

void loop() {
    digitalWrite(ledPin, HIGH);
    delay(500);
    digitalWrite(ledPin, LOW);
    delay(500);
}
This sketch blinks the external LED twice per second. The 220-ohm resistor limits the current flowing through the LED, preventing it from burning out. Never connect an LED directly to an Arduino pin without a resistor.
Project 3: Read a Sensor Value with Serial Monitor
Reading sensor data and displaying it on your computer is one of the most common tasks in any Arduino project. The Serial Monitor in the Arduino IDE allows you to send and receive text between the Arduino and your computer over the USB connection.
This example reads the value from a potentiometer (a variable resistor) connected to analog pin A0 and prints it to the Serial Monitor.
Circuit Wiring
- Connect the left pin of the potentiometer to GND.
- Connect the right pin to 5V.
- Connect the middle pin (wiper) to analog pin A0.
The Sketch
int sensorPin = A0;
int sensorValue = 0;

void setup() {
    Serial.begin(9600); // Start Serial communication at 9600 baud
}

void loop() {
    sensorValue = analogRead(sensorPin); // Read value (0 to 1023)
    Serial.print("Sensor Value: ");
    Serial.println(sensorValue);
    delay(500);
}
After uploading, open the Serial Monitor via Tools > Serial Monitor and set the baud rate to 9600. As you turn the potentiometer knob, you will see the values change between 0 and 1023 in real time. This is how Arduino reads analog sensors such as temperature sensors, light sensors, and soil moisture sensors.
Key Arduino Functions Every Beginner Should Know
| Function | Description | Example |
|---|---|---|
pinMode(pin, mode) | Sets a pin as INPUT or OUTPUT | pinMode(13, OUTPUT) |
digitalWrite(pin, value) | Sets a digital pin HIGH (5V) or LOW (0V) | digitalWrite(13, HIGH) |
digitalRead(pin) | Reads the state of a digital pin (HIGH or LOW) | digitalRead(7) |
analogRead(pin) | Reads an analog value (0–1023) from an analog pin | analogRead(A0) |
analogWrite(pin, value) | Outputs a PWM signal (0–255) on a PWM-capable pin | analogWrite(9, 128) |
delay(ms) | Pauses execution for the specified number of milliseconds | delay(1000) |
Serial.begin(baud) | Initialises serial communication at the given baud rate | Serial.begin(9600) |
Serial.println(value) | Prints a value followed by a newline to the Serial Monitor | Serial.println(sensorValue) |
Common Beginner Mistakes to Avoid
- No current-limiting resistor on LEDs — Always use a resistor (typically 220 to 470 ohms) in series with an LED. Without one, the LED will draw excessive current and either burn out immediately or damage the Arduino pin.
- Wrong COM port selected — If uploading fails, check that the correct port is selected under Tools > Port. The port may change each time you plug in the board.
- Connecting components while powered — Always disconnect the USB cable or remove power before modifying your circuit on the breadboard to avoid short circuits.
- Forgetting to call Serial.begin() — If nothing appears in the Serial Monitor, check that
Serial.begin(9600)is present in yoursetup()function and that the baud rate in the Serial Monitor matches. - Using delay() for everything — The
delay()function blocks all other code from running. For projects that need to do multiple things simultaneously, learn about themillis()function as a non-blocking alternative.
What to Learn Next
Once you are comfortable with the basics above, a clear progression path will help you build more capable and interesting projects:
- Sensors and modules — Learn to interface DHT11/DHT22 temperature sensors, PIR motion sensors, ultrasonic distance sensors, and relay modules.
- Displays — Connect an I2C LCD or OLED display to show sensor readings and status messages.
- Motors and servos — Control DC motors with an L298N driver module and position servo motors using the Servo library.
- Communication — Add wireless capability by pairing with an ESP32 or using an NRF24L01 module for device-to-device communication.
- Libraries — Explore the Arduino Library Manager, which provides ready-made code for hundreds of sensors, displays, and communication modules.
Conclusion
Getting started with Arduino removes the complexity traditionally associated with microcontroller programming and makes it accessible to anyone willing to spend a few hours learning the fundamentals. With an Arduino Uno, a handful of basic components, and the free Arduino IDE, you can go from complete beginner to building functional, interactive electronic projects in a very short time.
The three projects in this guide — blinking an LED, controlling an external LED, and reading a sensor — are the foundation on which every advanced Arduino project is built. Master these, explore the tutorials on sensors and modules available on this site, and you will be well on your way to building your own IoT-enabled systems.
Further Reading and Official Resources
- Arduino IDE Download — Official download page for the Arduino IDE 2.
- Arduino Language Reference — Complete reference for all Arduino functions, variables, and syntax.
- Arduino Official Tutorials — Beginner to advanced tutorials maintained by the Arduino team.
Related Guides
- What is IoT? A Beginner’s Guide to the Internet of Things
- What is MQTT? A Beginner’s Guide to the IoT Messaging Protocol
- ESP32 Getting Started Guide: Setup, Pinout and First Projects
- Top 5 Development Boards for IoT Projects in 2026
- Relay Module with Arduino: Control High Voltage Appliances Safely
- Arduino I2C LCD Display Tutorial
- PIR Motion Sensor with Arduino: Smart Security Alarm System
